
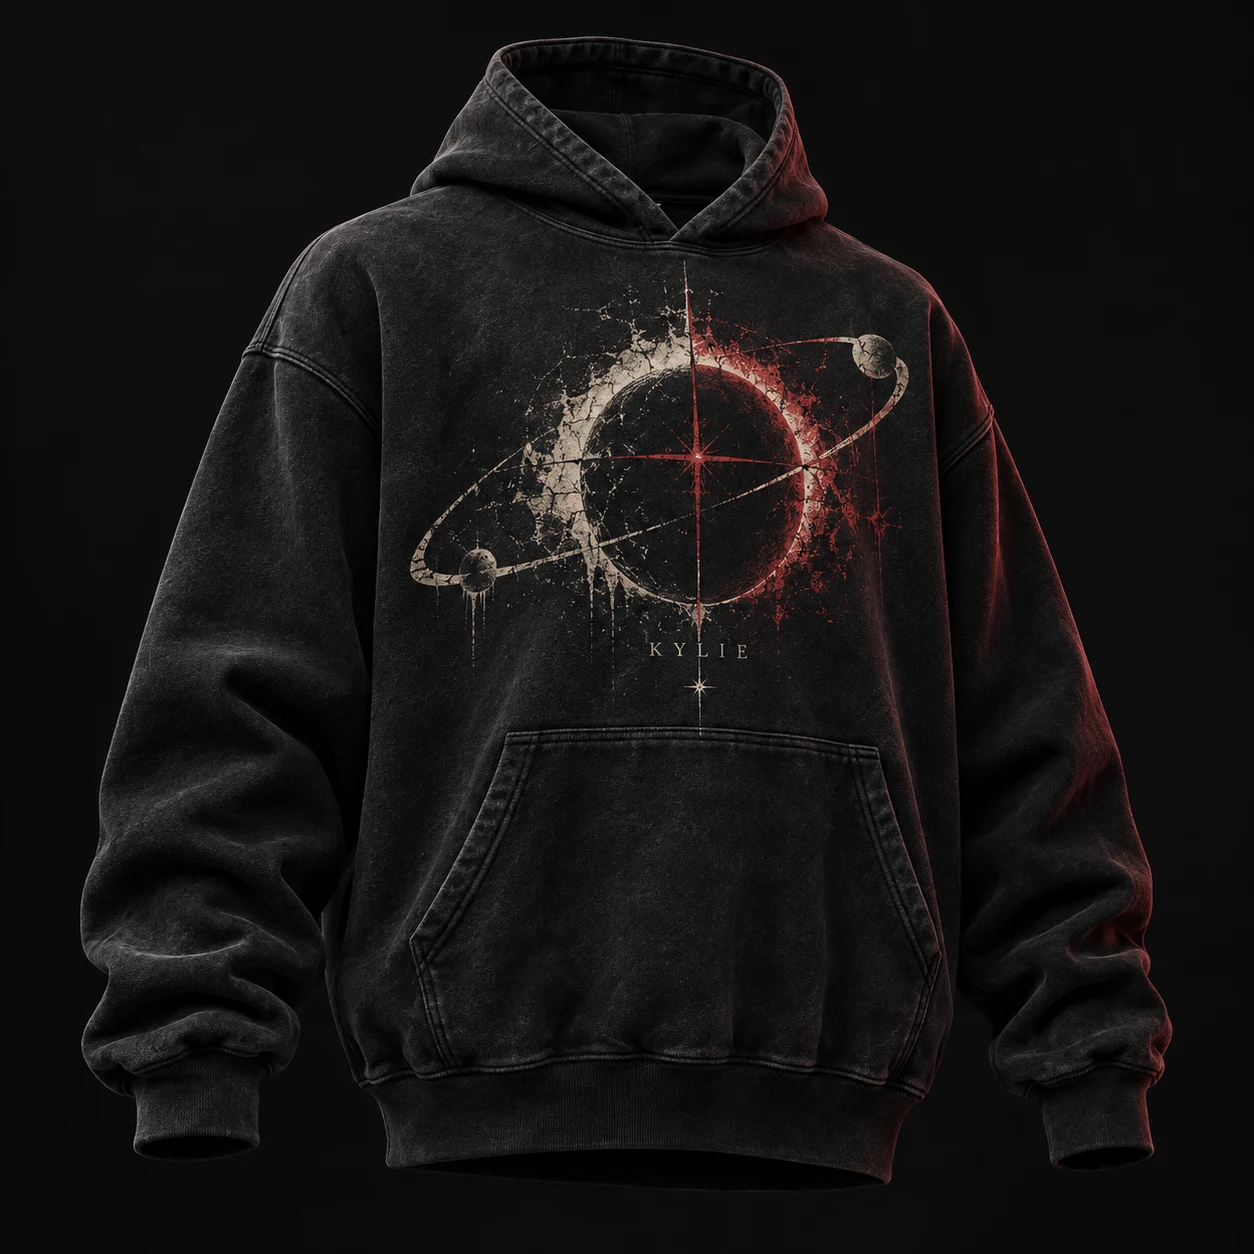
Start with the actual hoodie and the finished logo size
For a UK clothing brand developing an embroidered hoodie, our recommendation is to send an artwork file alongside a dimensioned placement drawing. State the finished width and height in millimetres, the garment size shown and the distance from an identifiable seam. Name the smallest lettering or narrow gap that must remain readable. A large screen preview cannot settle those details.
AS Colour’s UK Heavy Hood 5146 page specifies cotton-faced fleece and lists embroidery as a suitable decoration method. That is useful product information, but it does not approve every logo or stitch arrangement on that material. Record your own proposed fabric reference, colourway and decorated surface rather than transferring a supplier’s general suitability statement to your design.
For the first discussion, separate essential brand details from details that may be simplified. If tiny text is essential, ask for a physical stitch sample at the intended size before treating the artwork as production-ready.
Sources: AS Colour UK
Backing, underlay and topping do different jobs
These terms describe different parts of embroidery support. Keeping them separate makes supplier feedback more precise. Our comparison below is a way to organise the discussion, not a fixed recipe for every hoodie.
- Backing: material beneath the garment fabric. Madeira describes cut-away stabilisers for unstable knits and fleece; the retained backing continues to support the embroidery.
- Underlay: foundation stitches beneath the visible cover stitches. Wilcom explains that these can stabilise the fabric, reduce pulling and help prevent stitches sinking into a soft surface.
- Topping: material above the fabric during stitching. Madeira describes water-soluble toppings that help keep stitches from disappearing into lofty surfaces. A fleece garment’s brushed interior alone does not tell you whether its outer face needs topping.
Sources: Madeira USA · Wilcom
Ask what backing remains inside the garment
Gunold distinguishes cut-away support for stretchy fabrics, including support after stitching, from tear-away used on more stable woven materials. This supports asking about the fabric’s stability rather than choosing backing solely because the hoodie feels thick. It does not establish one backing weight or number of layers for every design.
Our suggested request is: “Identify the backing in the sample, show the reverse after finishing, and explain why this combination suits the fabric and artwork.” Ask the embroiderer to select the technical construction. The buyer should then review the finished result against the intended appearance and feel.
Inspect the inside as well as the front. Describe any stiff area, noticeable edge or uncomfortable contact at the proposed placement. Agree the intended backing outline and finish with the supplier; do not instruct someone to remove all retained support just to make the inside look cleaner. A close-up photograph helps document the reverse, but a physical sample is more useful for judging feel.
Sources: Gunold USA
Discuss underlay before asking for more stitches
Wilcom’s stabilising guidance explains that an underlay can provide a foundation more effectively than simply increasing cover-stitch density when fabric shows through. It also describes flattening nap and adding lift beneath the visible stitching. The practical question is which foundation the digitiser proposes for the design and material.
Digitising means translating artwork into instructions for the embroidery machine. Our recommendation is to ask the digitiser to review underlay and cover stitching together when a sample looks sunken or distorted. “Add more stitches” names a change without establishing its cause or whether it improves the result.
Keep a revision label with each proposal. If two approaches are being compared, request the same artwork size on the same identified fabric and record what changed. Let the embroiderer determine suitable machine settings; this guide supplies no universal density, needle or tension setting.
Sources: Wilcom
Review legibility with a repeatable viewing check
Our proposed buyer check starts with the sample released from the embroidery hoop and presented as it will be reviewed. Look at the whole motif at normal garment-viewing distance, then inspect the smallest details closely. Do not approve only from a magnified photograph that makes tiny lettering appear larger than it is.
Use the same short list for each revision: Can the intended words be read? Are the open spaces inside letters visible? Do outlines meet where the artwork says they should? Does the surrounding fabric lie as intended? Is the reverse acceptable for the proposed wearing position? Record observations without diagnosing every fault yourself.
For example, in a hypothetical chest logo, a small word may be unclear while the main emblem looks satisfactory. Mark the word as unresolved and ask for a revised sew-out—a physical stitched trial. Possible design discussions include larger lettering, simpler detail or a different layout. Approve the chosen change in writing so the supplier does not have to guess which brand details may move.
Use this embroidery comparison card
This is our suggested record for comparing two sew-outs. It is a briefing tool, not a laboratory test or proof of a completed Kylie production trial. Attach front and reverse photographs at comparable scale and retain the physical reference you approve.
- Identity: style, fabric reference, colourway, sample ID, artwork revision and finished embroidery dimensions.
- Support: supplier’s backing reference, retained backing finish, underlay revision and whether topping was used on the decorated face.
- Design priorities: exact wording, smallest essential detail, thread colour references and placement measurements.
- Comparison: what changed between A and B; observations for lettering, outline alignment, surrounding fabric and inside feel.
- Decision: approved features, unresolved details, next requested change, approver and date. Identify which sample is the current reference.
Carry the approved combination into the hoodie brief
Our recommendation is to link the approved stitch sample to the finished hoodie sample. Confirm its placement and appearance on the garment before releasing the decoration instruction. If fabric, artwork size or construction changes, ask the supplier whether the approval remains representative. Agree any additional care or durability checks separately; a clear logo on a new sample does not establish long-term performance.
To discuss an embroidered hoodie with Kylie Industry, send your artwork, intended dimensions, fabric direction, UK selling-market brief and comparison notes. Ask which development options can be arranged and confirm the quotation and sampling scope. The useful outcome is an identifiable garment-and-embroidery combination that both sides understand.
Continue your brief
Research and sources
This guide combines published source material with practical specification recommendations. It is not a physical test of the products mentioned. Product examples are references, not endorsements or affiliations.
- Heavy Hood 5146 — AS Colour UK. Checked 2026-10-13.
- Embroidery Backing Options Explained — Madeira USA. Checked 2026-10-13.
- Stabilizing with underlays — Wilcom. Checked 2026-10-13.
- The Right Backing For The Right Job — Gunold USA. Checked 2026-10-13.