
A current UK reference: what does the two-way zip add to the brief?
Gramicci’s UK page for the Gramicci x thisisneverthat Washed Wind Jacket lists a two-way fastening and zipped pockets. T3 covered the collaboration on 11 September 2026. This is one current collection reference, not evidence that two-way zips are gaining market share or that every windbreaker needs one.
For a UK streetwear label exploring that detail, the buying question is how the front should work on your own design. Should it open completely for putting the jacket on? Should the wearer also be able to open the lower part while keeping the upper section closed? Draw the intended configurations before selecting the hardware. The reference establishes a feature to investigate; it does not decide the specification for your collection.
Sources: Gramicci UK · T3
Separate the opening function from the zip’s appearance
YKK’s function guide distinguishes closed-end, open-end separating and two-way separating zips. It also shows double-slider arrangements as separate configurations. That vocabulary matters: requesting “two sliders” without identifying the intended opening can leave room for different interpretations.
Our recommendation is to mark the fully open and fully closed states on the drawing. For a conventional jacket front that must separate into two sides, identify a separating fastening. If lower-front opening is part of the design, discuss a two-way separating version and show that position too. A pocket opening that remains joined at its ends has a different job.
Keep appearance in another field: visible or covered fastening, tape colour, element appearance and pull shape. Ask the supplier to propose a compatible complete component reference. A branded pull or a photograph of teeth does not identify every part of the assembly, and this guide makes no claim about which zip brands Kylie can supply.
Sources: YKK Hong Kong
Agree the measurement endpoints before ordering lengths
YKK’s measurement guide gives different endpoints for different zip configurations and identifies tape extensions separately. Its open-end example measures from the top of the slider to the tip of the box. The useful lesson is to agree the applicable drawing, not to assume that all suppliers interpret a length request as the full piece of tape.
We recommend showing two related items in your technical pack: the intended opening on the finished garment and the supplier’s component measurement. Record the units, endpoints and required tape extensions. Have the sample maker reconcile them with the collar, hem and seam allowances before you approve the component.
For a size range, ask whether the front-zip length changes by garment size and request the proposed allocation. Do the same for any ankle openings on matching trousers. Do not copy the jacket’s length rule onto every other fastening merely to keep the order sheet short.
Sources: YKK Hong Kong
Build a location-by-location zip schedule
The following is our suggested fastening schedule. Make one row for each distinct location; repeat it where left and right sides differ. Attach the supplier’s component reference and marked drawing to each row. This keeps a pocket approval from being mistaken for approval of the jacket front.
- Jacket front: separating or two-way separating function; opening endpoints; component length by size; pull reference; intended closed position at the collar.
- Jacket pockets: usable opening; opening direction; left/right arrangement; pull access; relationship to pocket bags and any covering fabric.
- Trouser openings, if included: location and purpose; required opening configuration; length allocation; how the hem should sit when open and closed.
- For every row: component code and colour, measurement drawing, sample revision, approval status and any unresolved question.
Check the zip after it has been sewn into the shell
A loose component review and an assembled-garment review answer different questions. We recommend checking the supplied zip against its agreed reference first, then operating it on the completed sample with the intended layers underneath. Note whether the wearer can engage it comfortably, whether nearby fabric catches and whether the closed front sits as intended.
If the sewn area looks wavy, document when and where that happens before requesting a different zip. Coats identifies several contributors to seam puckering, including fabric structure, seam construction, thread and needle choice, and feeding. It also explains that different dimensional changes in components can produce puckering after treatment or washing.
Use that guidance to ask the sample maker to investigate the assembly. A wavy line is an observation, not a diagnosis that the zip is too long or the thread alone is at fault. Photograph the sample flat and worn, identify any pressing or care already performed, and retain the original component reference with the notes. Machine-setting changes should be decided by the production team for the actual materials.
Sources: Coats
Make the next sample resolve a specific fastening problem
Consider a hypothetical jacket whose front closes smoothly when laid flat but catches its inside facing when worn. Record the catching point and garment configuration. Ask for the nearby fabric and attachment to be reviewed while keeping the already accepted opening function explicit. “Improve the zip” would hide which decision is settled and which still needs work.
For a two-way front, demonstrate the intended lower-opening position on the wearer and return both sliders to the required position before separating it, following the component supplier’s instructions. Also check the pull at the collar and the accessibility of pocket pulls. Repeat relevant observations after the agreed care procedure. These are development checks, not a durability rating or a claim of standardised testing.
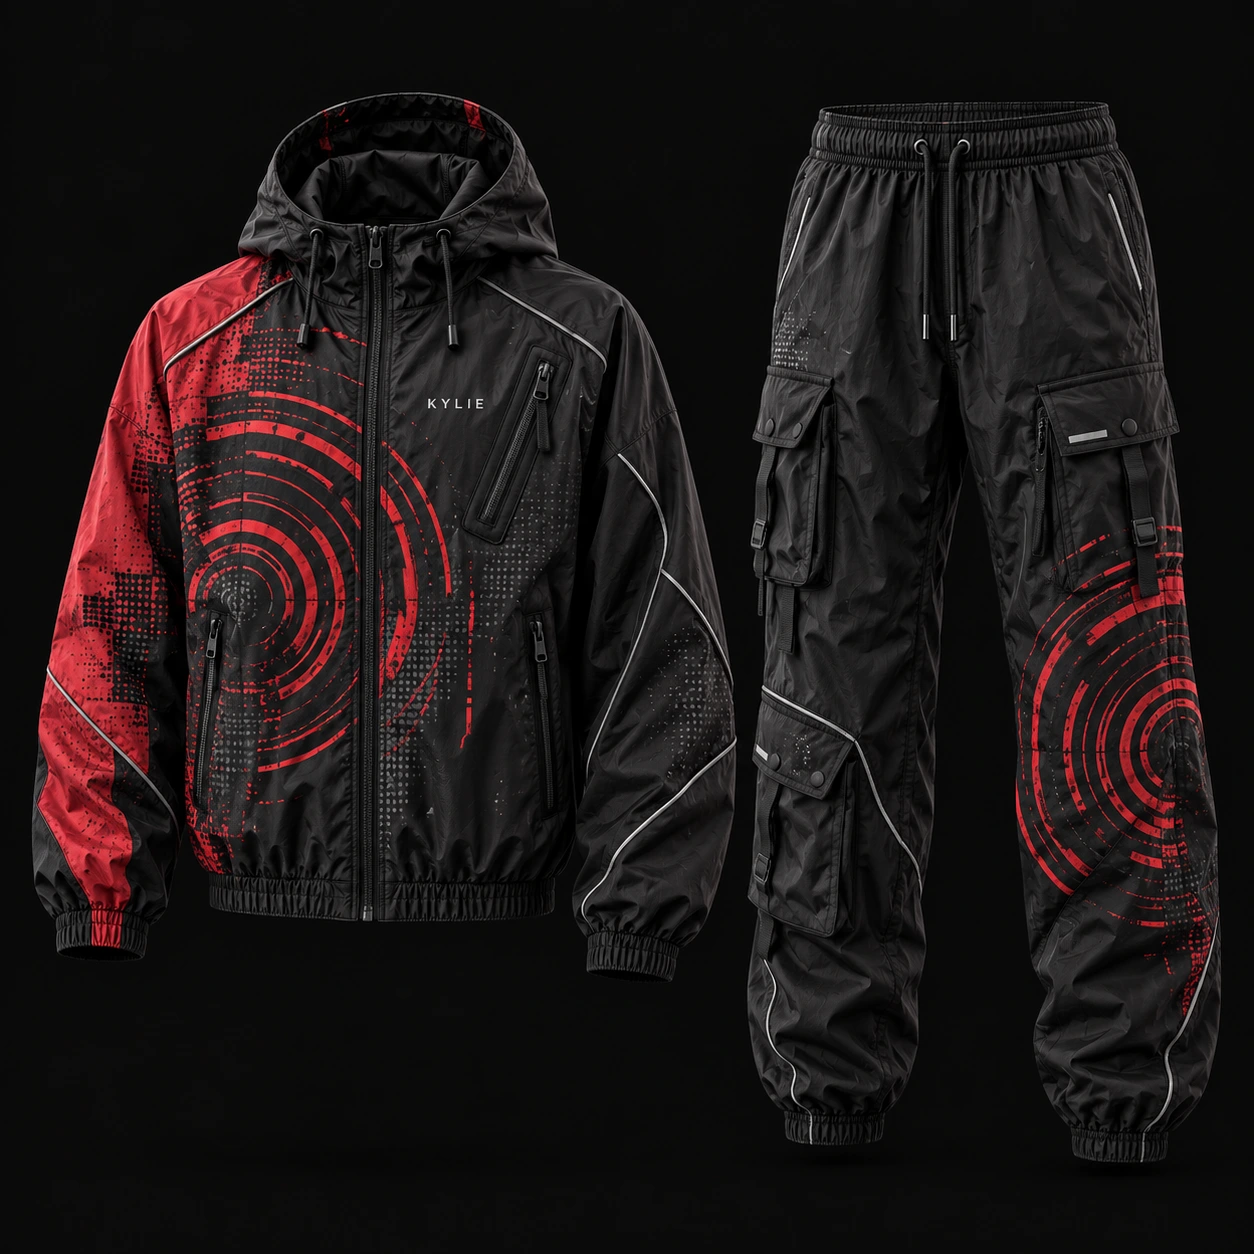
Keep weather-protection claims separate from fastening approval; the linked windbreaker evidence guide covers that question. For a Kylie Industry enquiry, send your design, fastening schedule, size breakdown and sample priorities. Ask for feasible components, sampling arrangements, quantities, pricing and timing to be confirmed for the project. The design illustration shows a proposed outfit, not inspected hardware or a tested production sample.
Continue your brief
Research and sources
This guide combines published source material with practical specification recommendations. It is not a physical test of the products mentioned. Product examples are references, not endorsements or affiliations.
- Gramicci x thisisneverthat Washed Wind Jacket — Navy — Gramicci UK. Checked 2026-09-30.
- Gramicci and cult South Korean label thisisneverthat just made the perfect ’90s climbing jacket – in 2026 — T3. Checked 2026-09-30.
- Types of Function — YKK Hong Kong. Checked 2026-09-30.
- How to Measure a Zipper — YKK Hong Kong. Checked 2026-09-30.
- Eliminating Seam Puckering — Coats. Checked 2026-09-30.