
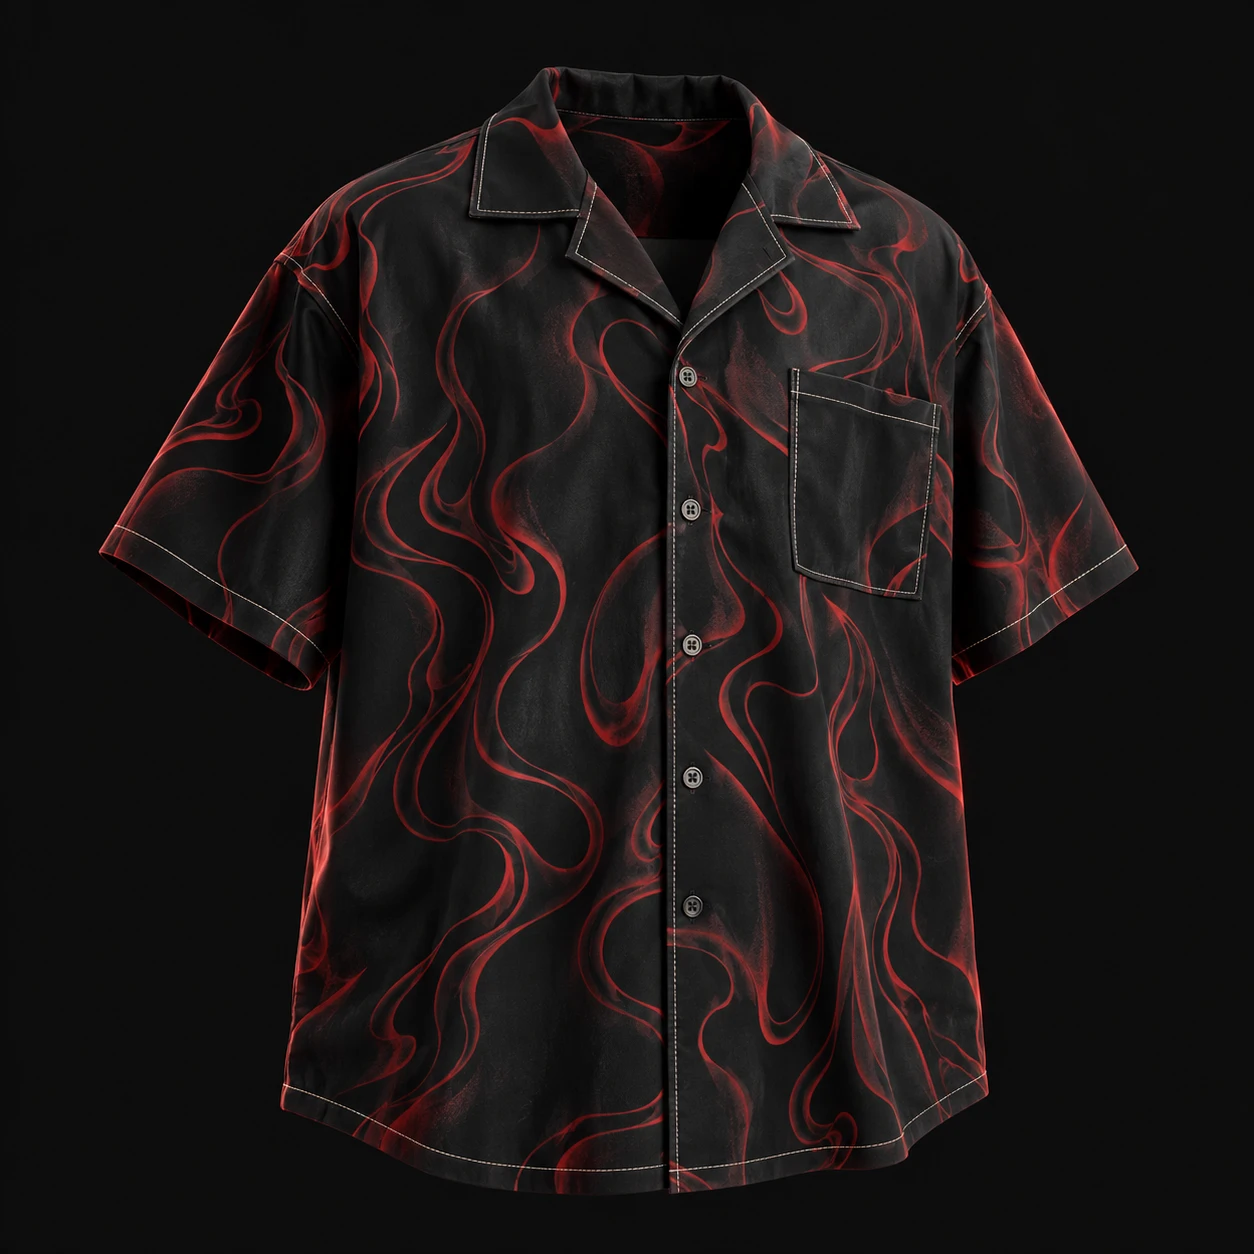
Why this detail belongs in a Canadian shirt brief
Dime’s Fall 26 D2 collection includes a Premium Flannel Shirt, while Outclass’s Autumn/Winter 2026 presentation includes plaid overshirts, cord shirts and brushed flannels. These are observations from two Canadian brands, not evidence that demand for any particular shirt construction is rising. They offer a useful reminder to specify how a shirt closes as carefully as how it looks.
For a Canadian label developing a printed shirt, make the intended use explicit: worn buttoned as a standalone top, open over a tee, or both. This guide concerns adult shirt development. Its practical recommendations help organise sampling; they do not set a universal Canadian sizing rule or certify a product.
Specify the real button before approving the opening
Ask for the proposed button itself, with its supplier reference, material description, colour, finish, diameter, thickness and hole arrangement recorded in the trim sheet. Photograph its face, edge and reverse next to a scale. If you are considering a replacement trim, compare the actual parts rather than approving from similar-looking catalogue images.
Our recommendation is to keep a labelled button attached to the approved sample and another in the trim record. Agree whether the front, cuffs and collar use the same part or different ones, and whether a spare is required. This makes a later substitution visible instead of leaving the production team to interpret “matching buttons”.
Treat button attachment and buttonhole sewing separately
Coats’ shirt application guide lists button sewing and buttonhole operations separately, with thread and needle options. It also says its recommendations are starting points because fabrics, construction and processing vary. That supports asking the factory to confirm the proposed setup on your actual shirt, rather than copying a thread specification from another style.
Groz-Beckert describes the challenge of guiding a needle through a button’s holes and the problems that can occur when it strikes the edge. For the buyer, the useful action is to inspect the proposed trim and attachment for chipped edges, damaged thread and distortion, then ask the production team to investigate defects. More visible stitches alone are not a substitute for an agreed attachment specification.
Sources: Coats · Groz-Beckert
Approve a usable opening, not just a neat rectangle
Record the finished cut opening and the stitched outline separately, including orientation and position. Check the actual button passing through the finished opening with the intended fabric layers in place. If fastening feels forced, or the button slips out during normal handling, return the sample with a clear description of the problem.
JUKI’s buttonholing documentation describes separate tension control for the long sides and reinforced ends of a buttonhole, adjusted for conditions such as material and thread. It also treats cutting size as a configurable detail. This illustrates why a clean-looking stitch outline is only part of the approval. It does not establish which machine Kylie uses or prescribe settings for your garment.
Request a close photograph of the opening after cutting, as well as a short fastening video. These can help remote review, but retain physical sample approval for handling and fit decisions.
Sources: JUKI
Check the closed front on the intended fit
The placket is the fabric area forming the shirt’s front opening. Mark button and buttonhole positions from agreed reference points, then inspect the sample fully fastened. Look for uneven overlap, displaced hems, puckering or gaps between buttons while the wearer stands, sits and reaches normally.
For printed shirts, photograph the artwork with the front both open and closed. Identify which motif relationships must match across the overlap and which may vary. Keep that artwork decision separate from the fastening decision: an attractive print alignment does not excuse a difficult opening. Repeat the review on the agreed size samples rather than assuming one approved size proves the entire size range.
Ask what a strength report actually tested
ASTM D6644-01(2025) addresses the resistance of the bridge of a sew-through button to increasing strain. The bridge is the material between its holes. A report for that component property should not be read as proof of the complete button-to-shirt attachment.
When asking for evidence, identify the question: button breakage, sewn attachment failure, fabric damage around the attachment, or appearance after care. Ask the laboratory or technical team to select a suitable method and agree acceptance criteria before testing. Request the sample identity, method version, conditioning, measured result and failure location. Do not use a hand tug as a claimed laboratory pass or apply an unexplained force threshold copied from a different product.
Sources: ASTM International
Use this fastening approval checklist
The following is a proposed buyer checklist, not a record of tests performed by Kylie. Complete it with the supplier using the agreed sample and care instructions. Keep photographs under consistent lighting and identify any revised sample clearly.
- Trim identity: button reference, dimensions, colour, finish and hole arrangement match the approved record.
- Opening: the cut is clear, stitching is intact, and each button passes through without forcing or unintended release during normal use.
- Position: button spacing, overlap and hem alignment match the marked specification on the agreed size samples.
- Appearance: no unexplained puckering, damaged buttons, loose attachment thread or interrupted priority artwork.
- After care: compare fastening, button finish, opening edges and front alignment with the unwashed reference; record the actual procedure.
- Decision: list accepted details, required corrections, responsible reviewer and the sample version that must be resubmitted.
Turn corrections into one production reference
Use specific notes such as “front button three catches on the opening edge” with a photograph and sample identifier. Avoid vague approvals such as “buttons look fine”. If the button, fabric layers, sewing setup or finish changes, agree which checks need repeating before production proceeds.
Send Kylie Industry your shirt sketch, proposed trim references, print artwork, intended fit and Canadian delivery destination. Ask for the available button options and a sampling plan that covers fastening as well as appearance. Confirm specifications, quantities, pricing and scheduling directly for your project.
Continue your brief
Research and sources
This guide combines published source material with practical specification recommendations. It is not a physical test of the products mentioned. Product examples are references, not endorsements or affiliations.
- Shirts application guide — Coats. Checked 2026-10-18.
- Sewing machine needles for the apparel industry, page 12 — Groz-Beckert. Checked 2026-10-18.
- LBH-1790AN / LBH-1790ANB buttonholing system — JUKI. Checked 2026-10-18.
- ASTM D6644-01(2025): Tension Strength of Sew-Through Flange Buttons — ASTM International. Checked 2026-10-18.
- Fall 26 D2 — Dime. Checked 2026-10-18.
- Autumn/Winter 2026 — Outclass. Checked 2026-10-18.